Siwenoid v2 installation: Difference between revisions
Jump to navigation
Jump to search
| Line 21: | Line 21: | ||
=== 3) Open the folder and double click on "Start_Windows.bat"! === | === 3) Open the folder and double click on "Start_Windows.bat"! === | ||
<br style="clear: both" /> | <br style="clear: both" /> | ||
The installer starts. | |||
We should see the following screen. | We should see the following screen. | ||
Revision as of 13:07, 3 July 2018
| Language: | English |
|---|
Installing Siwenoid V2
1) Preperations
- The windows username shouldn't contain any special chars (like ! % ö ü ó ű á é ú ő etc.) or space!
2) Copy the installer to Drive C:.

1. Sub version
2. release date
3) Open the folder and double click on "Start_Windows.bat"!
The installer starts.
We should see the following screen.

4) Select the "install" option!
The installer starts and we should see the following picture:

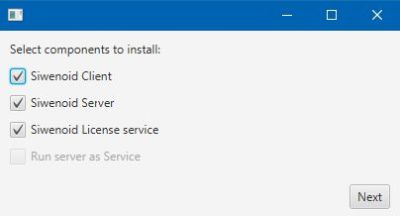
5) Select the components we want to install then click "NEXT".
If we purchased a 1 client configuration select all three options (Client, Server, License service). If we are setupping a second client then we should select client only.
- The "Client" is the siwenoid client application.
- The "Server" is the Siwenoid server application.
- The "License service" is the licenc managing tool.
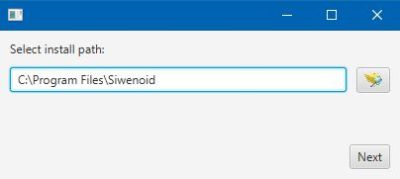
6) Select the install destination.
On the next screen we can specify the folder for Siwenoid. it is NOT RECOMMENDED to change the default install location.

- If the selected folder is not present the installer will make it for us.
- If we have a previuos version of Siwenoid V2 the installer updates it to its own version.
- The client, server and licence manager will be installed in different folders under a "Siwenoid" folder.
If We Click on "NEXT" the installing will begin.
- The software installs its own Java runtime environment so it wont interferewith the computers settings.
7) Finnishing installation
Click on the "Next" button everytime it appaers!
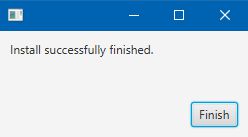
We will be notified about the succesful installation. Click on the "Finish" button to exit the installer.
