MySQL installation
| Language: | English • magyar |
|---|
Previous chapter-> Prerequisits / Next chapter-> Installation under Windows
SIWENOID installer installes its own MySQL instance by default. This description recommended only if you want to install a separate one, or you prepare a database server PC with a MySQL instance. Otherwise use the installer: Manual installation
Installation of MySQL
Click on http://www.mysql.com/downloads/mysql/ link and be sure that you download the Microsoft Windows installer of MySQL. MSI installer is recommended for installation. 32bit version works on any Windows version, 64bit version works on 64bit Windows only, but it is not recommended on XP. Click on download button, and register if you wish to. It is not mandatory. If you click on “No thanks, just take me to the downloads!” link then the download mirrors appear to select. After download double-click on it to launch the installer. Accept the end user agreement and select the appropriate option:
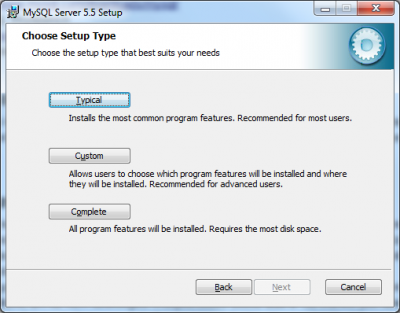
During Typical installation the destination of application files is the default system partition\Program Files. The database file location is going to be selectable. Select Custom button to install MySQL in a different folder.
After selection click on "Install" button and installation are done in few seconds (require some Next).
After installation the following dialog appears:
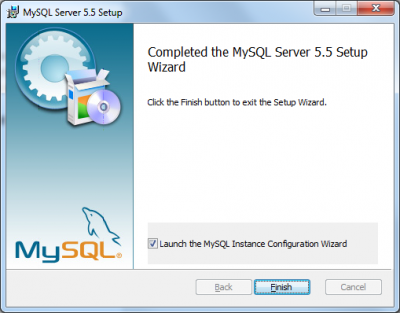
Mark the Launch the MySQL Instance Configuration Wizard before clicking on Finish button.
Configuration of MySQL server
Launch server configuration. Click on Next button several to reach the following dialog:
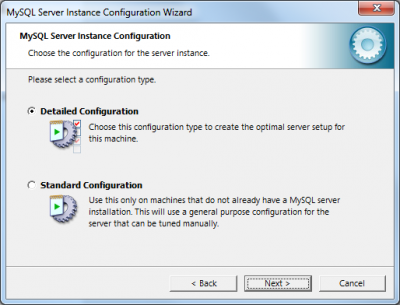
On this dialog make sure that the Detailed Configuration is selected, and then click on Next button.
Next dialog concerns to the usage of resource that MySQL are using runtime.
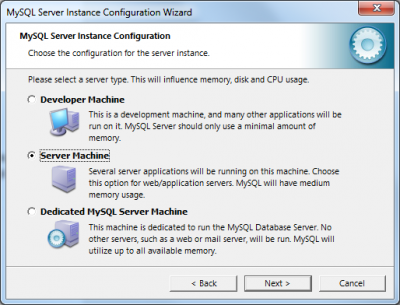
In most case the Server Machine fits best the requirements. With this settings it will have medium memory usage. If more application (with higher memory usage) is running on a computer then select the Developer Machine option. Then MySQL will use less memory to let other processes to use the rest.
On the next dialog, the default setting (Multifunctional Database) fits the requirement of SIWENOID system.
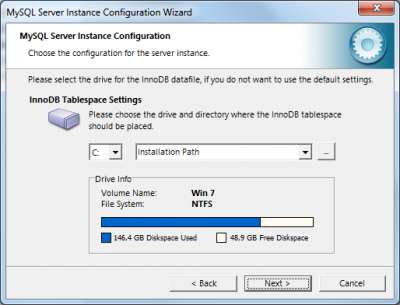
On this dialog the location of database can be set. If Installation Path is left default then they will reside on the refered detination. Otherwise you can set any folder for destination.
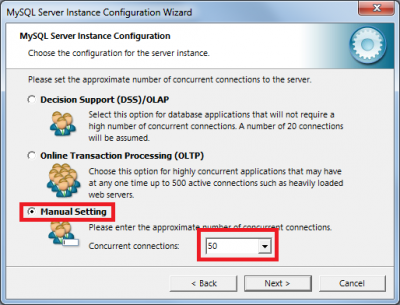
The number of concurrent connections should be set to 50. It is recommended in case of SIWENOID. It has importance only in case of bigger systems. Choose Manual Setting option and type 50 to the input field.
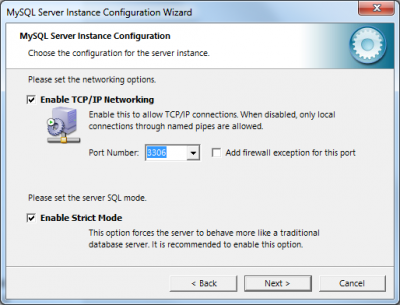
Network setting should be left default except that the 3306 port is already occupied or any company firewall setting requires.
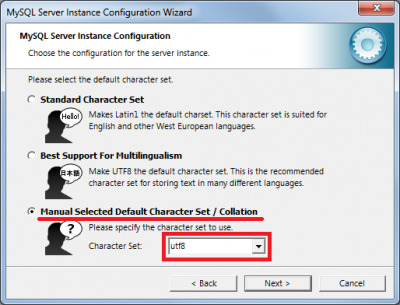
On next dialog choose the character set of database. This is imortant to be able to use appropriate special caharcters.
Choose the Manual Selected Default Character Set / Collation option, and use listbox to select utf8.
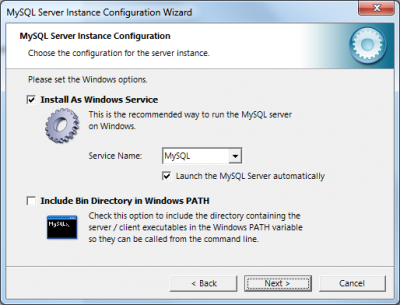
Don't change anything on this dialog. In this case MySQL will be registered among services and will be started automatically during startup of Windows.
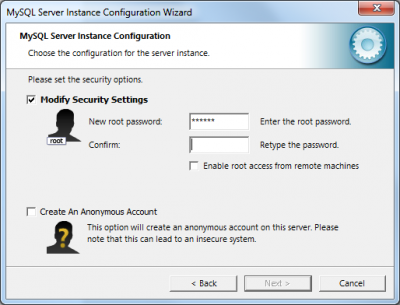
On the next dialog the password of default user (root) should be set. This user will be the main administrator of the entire database system. In most case the remote access is not necesary (security reason).
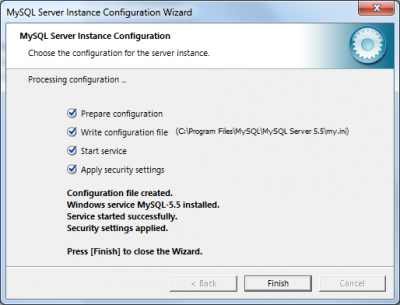
Click on the Execute button (it will change to Finish) and the Wizard will finialize the configuration and startup the service. If the attached dialog appears then configuration was successful and MySQL server is ready to use.
Installation of MySQL Workbench
A new user has to be defined so that SIWENOID could connect to the database and to be able to make insertions, queries in it. A graphic user interface can be used to do it. MSI installer of MySQL Workbench can be downloaded from the following link: http://www.mysql.com/downloads/workbench/ .NET Framework 4.0 is a prerequisit of the installation of Workbench. Download link: http://www.microsoft.com/downloads/en/details.aspx?FamilyID=9cfb2d51-5ff4-4491-b0e5-b386f32c0992&displaylang=en . Installation folder can be defined during installation. Select Complete option to install each component of Workbench. After installation the following screen appears:
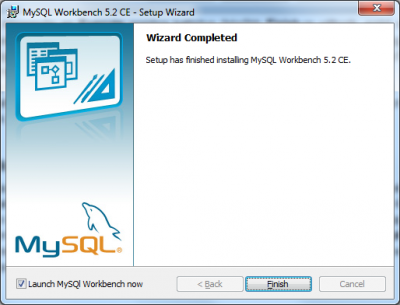
Be sure that Launch MySQL Workbench is marked to begin configuration. Application can be launched later in Start menu.
Create a new MySQL user (Workbench)
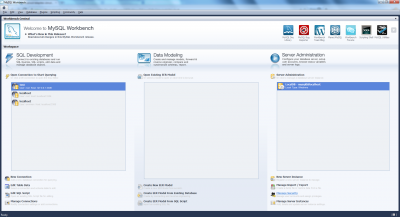
Appliaction main window is devided into 3 columns. For create a new user the third column can be used. In the list double click on MySQL server instance.
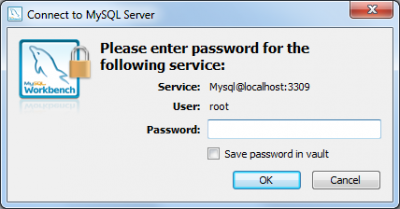
On this dialog type in the password of root user that was set during installation.
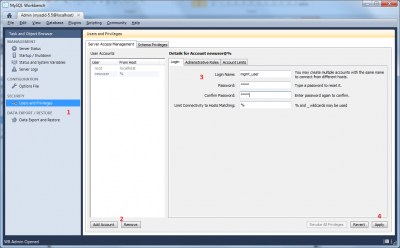
After successful connection the administration interface appears. In the left list select the Users and Privileges (1) option. Then click on Add Account (2) button, and set the parameters for the new user account (3). Type a name into the Login Name field (mgmt_user in this example), and then a password to the appropriate fields. Leave the default % mark in the Limit Connectivity to Host Matching field. Finally click on Apply button (4) in the right bottom of the dialog.
In the User Account list a new user appear if it was successfully created. Now the configuration of database server is finished, MySQL Workbench can be closed.
Previous chapter-> Prerequisits / Next chapter-> Installation under Windows