Create map
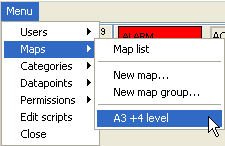
To create a map select. Existing maps can be slected by .
Create a map

Use map menu to create a new map. An empty map opens.

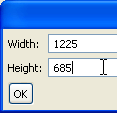
First select Map_menu->Set_size... Size of map should correspond to the background image size that you assign next. Otherwise background picture will be streched to align the map size.
Then select Map_menu->Set_picture... Use file selection dialog to define the background map. Many pixel graphic formats are supported (bmp, jpg, png, gif). Graphic files are always uploaded to \server\data\maps\ folder even if they were selected from a client. Then application takes care of the syncronization of the content of \server\data\maps\ and \client\data\maps\. This is hidden for the user and commissioner. This technic provides that the map images are not always transfered beetwen server and client. Syncronized copies are stored in a local client folder.

Then set the name of the map at the bottom of the map window. Here you can assign the current map to a group. Map groups can be defined in Menu->Maps->New_map_group...
Always save the map using Map_Menu->Save... In the caption an asterix indicate if a map has modified but still not saved.
Add a dynamic icon to a map

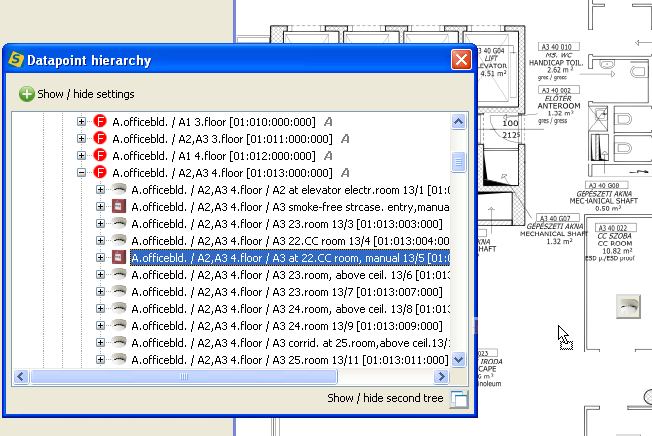
Open the tree and drag&drop any datapoint onto the map. Datapoint will appear with its default icon. Its position can be changed later by drag&move&drop it. Using popup menu it is possible to change the default icon of a datapoint. If you want to change multiple datapoint together use Setting menu of map window.
Default map assigment
Datapoint can have several instance on the same map and they can even reside on different maps.
Add a link to another map
ghgjh
Add a print icon to a map
hfjh
Change the appearence of an icon
ghj
hkj