Installation under Windows
| Language: | English • magyar |
|---|
Previous chapter-> MySQL installation / Next chapter-> First SIWENOID startup
ARCHIVE DOCUMENTATION!!! SUPERSEDED BY Manual installation
Installation of CODEMETER RUNTIME
This software is necessary for the licence dongle.
Link to download: http://codemeter.com/us/service/downloads.html
After download run it and follow the instructions of installer.
Installation of server application
Launch the SIWENOID-installer. Double click the Siwenoid-installer.jar or if it doesn't work due to enviromental settings, then use the following command line java -jar Siwenoid-installer.jar.
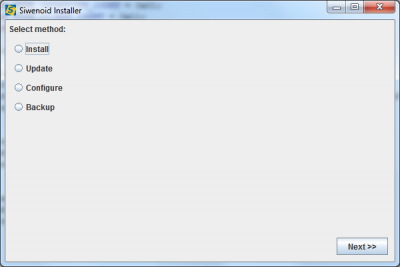
Select Install menu, then Siwenoiod server application option. Next screen shows the available component of installation.
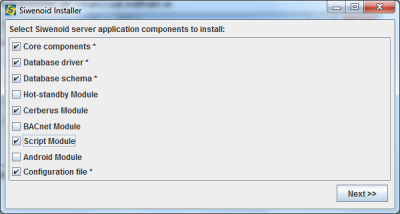
Asterix marked components are mandatories, while others are optionals depending on the connected subsystems or required functions. (Cerberus modul concerns to CC11 and CC440, while BACnet concerns to Sinteso and CerberusPro control units).
On the next dialog select the destination folder of server installation. Server and client are not allowed to be installed in the same folder, but their individual folders can reside in the same parent folder (for example: C:\TopSys\server and C:\TopSys\client).
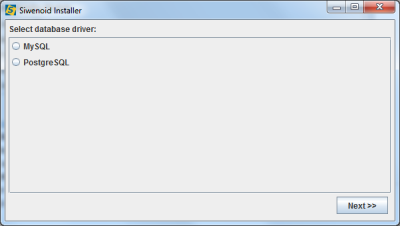
On next dialog select the MySQL option as database server, because we installed it in the previous chapter.
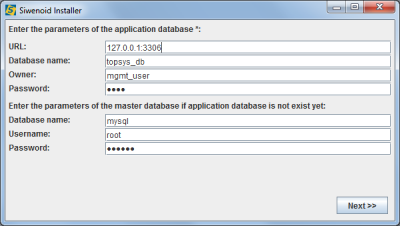
Set the following database connection properties:
- URL: IP address (or host name) and port number of database server computer. If default port number was not changed during MySQL installation (3306) then the port number extension can be omitted.
- Database name: A name for the SIWENOID database that is going to be inserted into database manager. It can contain only english alphabet letters, numbers, and underline!
- Owner: SIWENOID database is going to be created in the name of this user. Previously defined in MySQL Workbench as a new user. In our case it was mgmt_user (previous chapter).
- Password: Password of database owner. It was also set in Workbench previously.
Next 3 field contains the default database connection parameters. This is necessary to create our SIWENOID specific database.
- Database name: MySQL built-in administration database. By default it is "mysql".
- Username: User name of administrator user (root). It is "root" by default.
- Password: Password of administrator user (root). It was defined during MySQL installation.
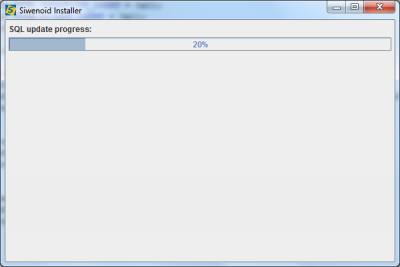
Wait until database insertion occures. This can take a few minutes.
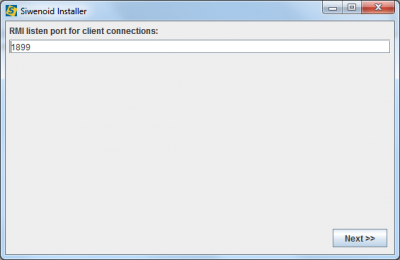
On the next dialog set an unused port number that is going to be used for client server connection. This is set to 1899 by default. Change it only in special case.
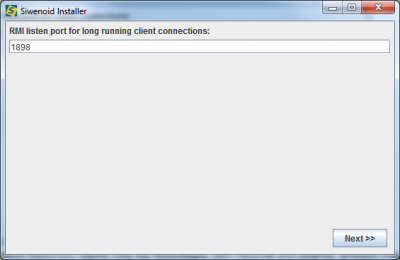
On the next dialog set an other port for the long term processes. It is set to 1898 by default. But it can be any unused port. Change it only in special case.
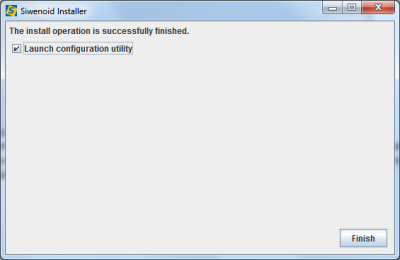
Server installation is now finished. For licenc configuration start the configuration application by checking the Launch configuration utility checkbox.
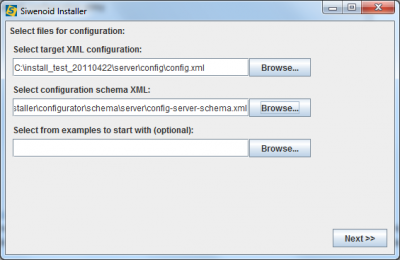
Set the server configuration XML file. This is filled by installer automatically.
In Select configuration schema XML field select a shema file associates to our XML. It can be found in folder of server installation (config-server-schema.xml). Click on Next to start configuration application.
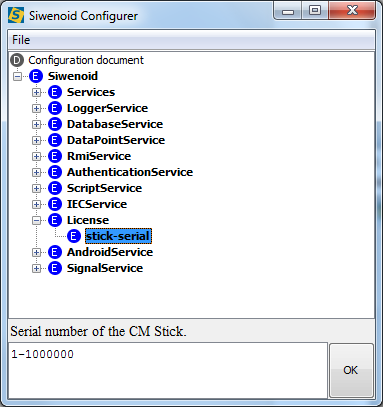
A tree lists the element of configuration. Open Siwenoid and then License element and double click on stick-serial node. In the input line set the text to the serial number of your dongle.
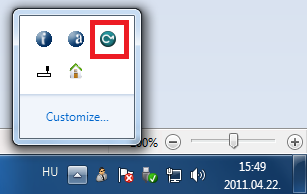
If you are not sure the number of dongle then connect it to any USB port and then double click on the associated tray icon.
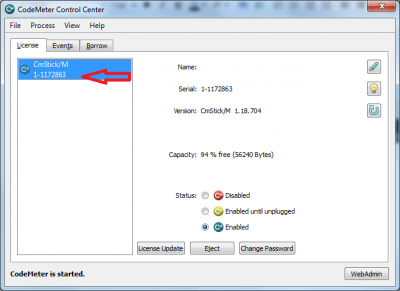
CodeMeter Control Center application will list all the connected dongles. Here you can find your dongle number.
Going back to our configuration application type in the serial number of dongle, and confirm it with OK button. There is nothing more to configure. In File menu use Save submenu to save configuration and then close the window.
Installation of client application
Installation of client application is easier because the database connection parameters concerns only server. Launch Siwenoid-installer again, and select Install option, and Siwenoid client application option.
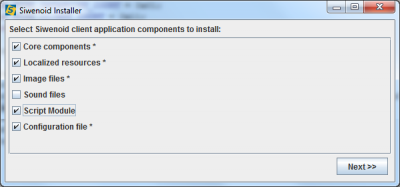
Asterix marked option are mandatories, others are optionals.
On the next dialog - like during server installation - select destination folder of client installation. Server and client shouldn't be installed in the same folder!
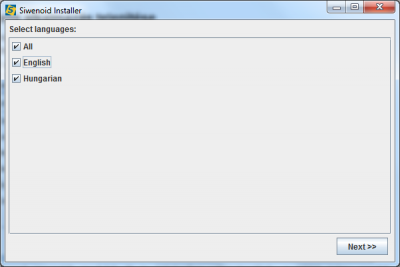
After copying of selected modul files select the available languages. English is mandatory to be selected because it will be assigned to administrator user at first login.
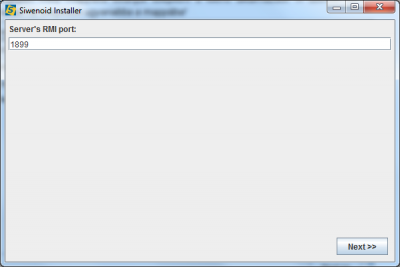
Then you have to set the communication port between server and client. This was set during server installation also in the RMI listen port field. It is 1899 by default. Long term process port number will be set automatically during first client server connection.
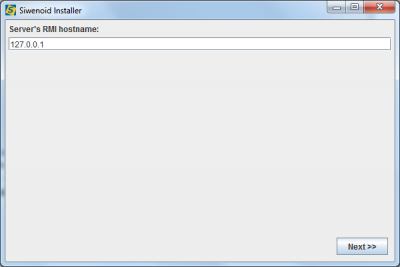
Then set the server IP address or host name. If server and client runs on same computer then 127.0.0.1 or localhost name can be used.
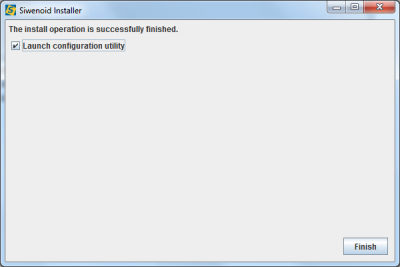
Client installation now is finished. If you wants to run configuration utility then mark the Launch configuration utility checkbox. In the XMLS shema input line type (or browse) the location of relevant config-client-schema.xml file that is normally located in the client installation folder.
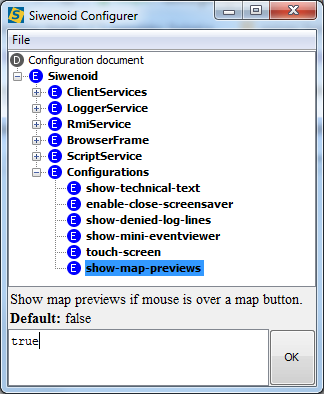
Mostly only the Siwenoid/Configuration elements should be changed. Most of the parameters are logical true or false. Most relevant parameters:
- show-mini-eventviewer: Visibility of mini eventviewer, that shows the last 5-7 lines of history.
- show-map-previews: Visibility of map preview when user hover over a specific map link icon.
Any change should be confirmed by OK. After finishing use File/Save menu to save the configuration, and close the winodow.
Previous chapter-> MySQL installation / Next chapter-> First SIWENOID startup